Setting up scanTags in your Lizzy DMS
As many of you may already know, Lizzy supports the use of unique barcodes (called scanTags) that allow you to immediately scan and create a service ticket for a major unit. This can significantly cut down on the time needed to begin a service ticket, since by using scanTags you do not need to find the customer, only confirm that the scanned tag has identified the correct unit. You can purchase scanTags from nizeX, or you have the option to purchase your own durable barcode labels elsewhere. You can also choose to use the VIN/barcode already provided on the product. The vital thing to remember is that each barcode must be a unique number in order for Lizzy to properly track your units.
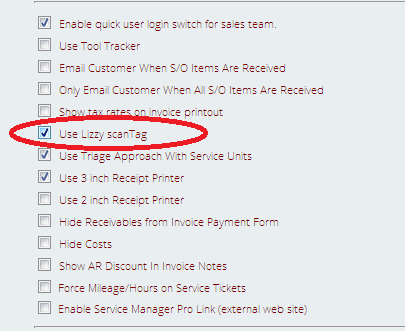
Once you have your barcodes ready to be placed on each product, you’re ready to get started tracking scanTags in Lizzy. The first thing you’ll want to do is go to Settings > Invoicing > Defaults. Scroll to about the middle of the page, until you see the checkbox for “Use Lizzy scanTag.” Check the box, then save.
Now you can begin linking units to their individual scanTags. To do so, go to Serialized > Units > Locate a Unit. You can use the drill-down features to locate the units you want to tag. Once you have clicked on an individual unit, locate the green button that says “Assign scanTag.”
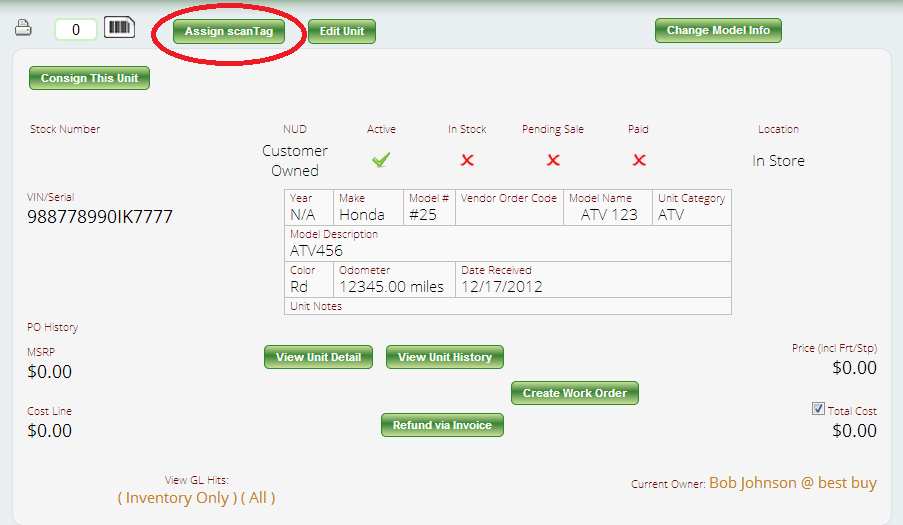
Click on the “Assign scanTag” button, and you’ll see a small pop-up window that asks for the scanTag information.
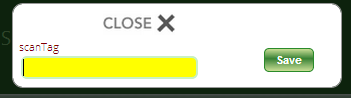
Scan or enter the unique scanTag number into this field and Save. Once you have saved the information, the page will refresh and show you the new linked scanTag.

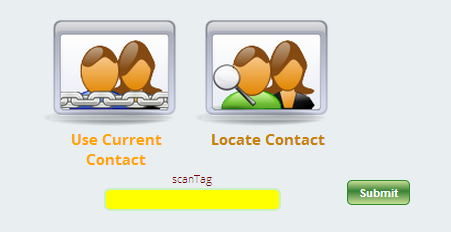
Now, once you have all of your major unit inventory linked in Lizzy, you may also wish to tag customer-owned units as well (that may not have been sold by your store and therefore were never tagged). Once a customer brings a unit in for servicing, you can link their unit to a scanTag at that time. First, create a new service ticket. If you have your Lizzy database set to use scanTags, you should see the option to scan a tag at this time. However, you’ll need to actually link the tag to the customer before Lizzy can recognize the unit.
Once you have the service ticket linked to the correct customer, add the customer’s unit to the invoice. You should now see a special icon that looks like a ticket displayed on the invoice that will allow you to “Assign a scanTag.”

Click on it, and you will see the small pop-up window displayed that allows you to link a scanTag to the unit. Scan or hand-enter the unique code, and save. The scanTag is now linked to the customer’s unit.
If you do not need to create a service ticket for a customer, but wish to assign a scanTag to a customer-owned unit, you can do so by first locating the customer and then going to Invoicing > General Invoices > View Customer Units. Once you have done so, any units already linked to that customer will display and you can assign a scanTag to each unit the way you did for your own inventory earlier in the process.
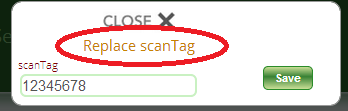
Finally, a great question from a customer about when scanTags wear out. “Can I replace a scanTag on a unit in Lizzy?” YES, you can! While the scanTag options that nizeX sells are extremely durable (with an estimated lifespan of over 20 years when kept outdoors continuously), should you find that you need to replace a scanTag, you need only click on the “Assign scanTag” button and then “Replace scanTag” when viewing a unit that already has a scanTag linked to it.