
Gaining Access to Zebra Label Printers and Cash Drawers
In May 2018 the Lizzy team released a new local service that runs on your computers in order to gain access to your cash drawers and Zebra printers. This service should be installed on each local computer that has a cash drawer or printer attached to it. NOTE: If the computer you’re on doesn’t have a cash drawer or zebra printer plugged into it then it may not be necessary to install this app on that computer. If you are dealing with IP-based cash drawers then you will need this application installed on enough different computers so that each can talk to one cash drawer. The rest of the computers won’t need this application.
In this document, we will be going through how to set up and install this new service along with some things you need to know. There is also a training video here if you prefer visual instruction.
Let’s get started!
1) Download the following link and run it to start the installation process. It will be installing the application and its supported files into Desktop\Lizzy
NOTE: Because this is an exe file you may get warnings in Windows. Click through the warnings and install onto your desktop.
Lizzy Cash Drawer Setup Application
Note: If you are running an older version of Windows, such as Windows 7 32 bit, please choose LizzyServices386.
LizzyServices386 Setup For Older machines
LizzyServices
NOTE: THE FOLLOWING STEPS ARE FOR CASH DRAWERS WE’VE PLUGGED INTO THE USB PORT OF A COMPUTER. IF YOU ARE USING A NEWER STYLE NETWORKED CASH DRAWER THEN YOU CAN SKIP TO STEP 5 BELOW
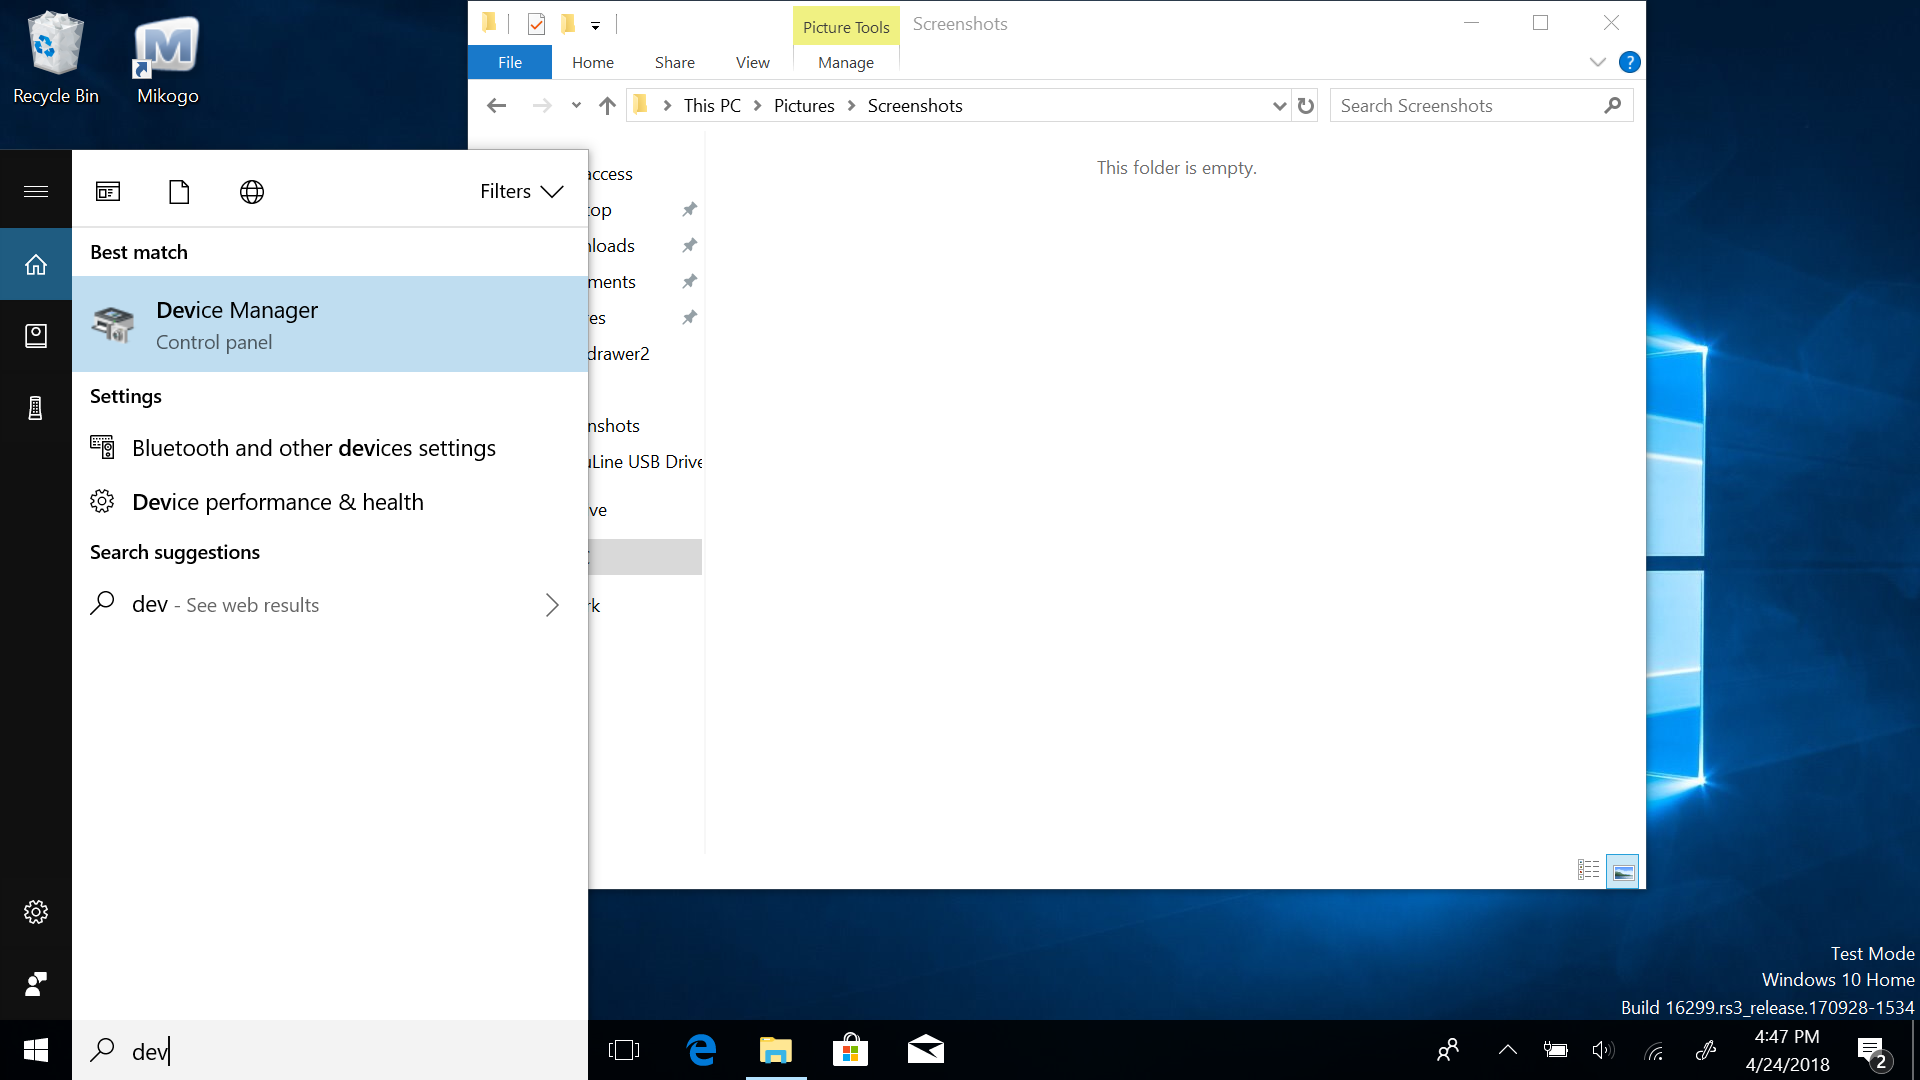
2) Now we need to plug your cash drawer into the computer and click in the start menu to access your device manager by typing “Device manager” and pressing return.
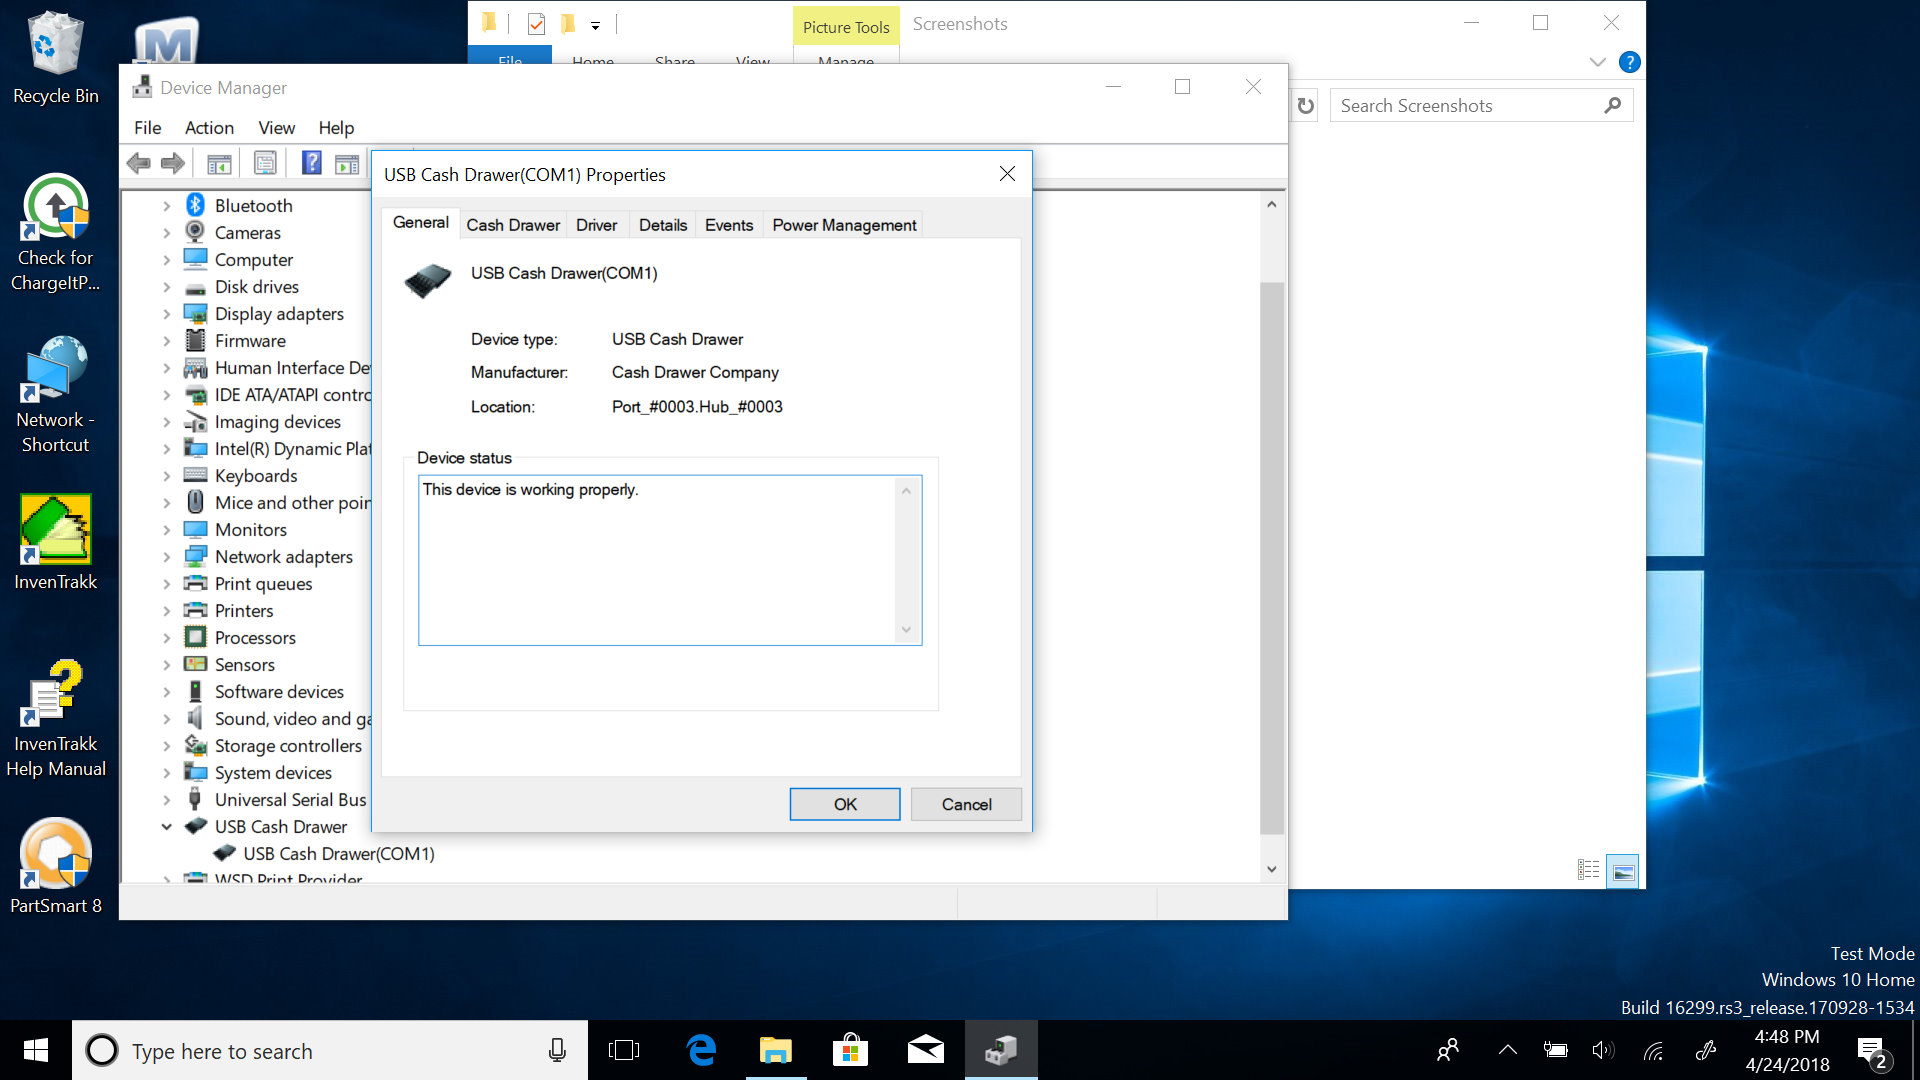
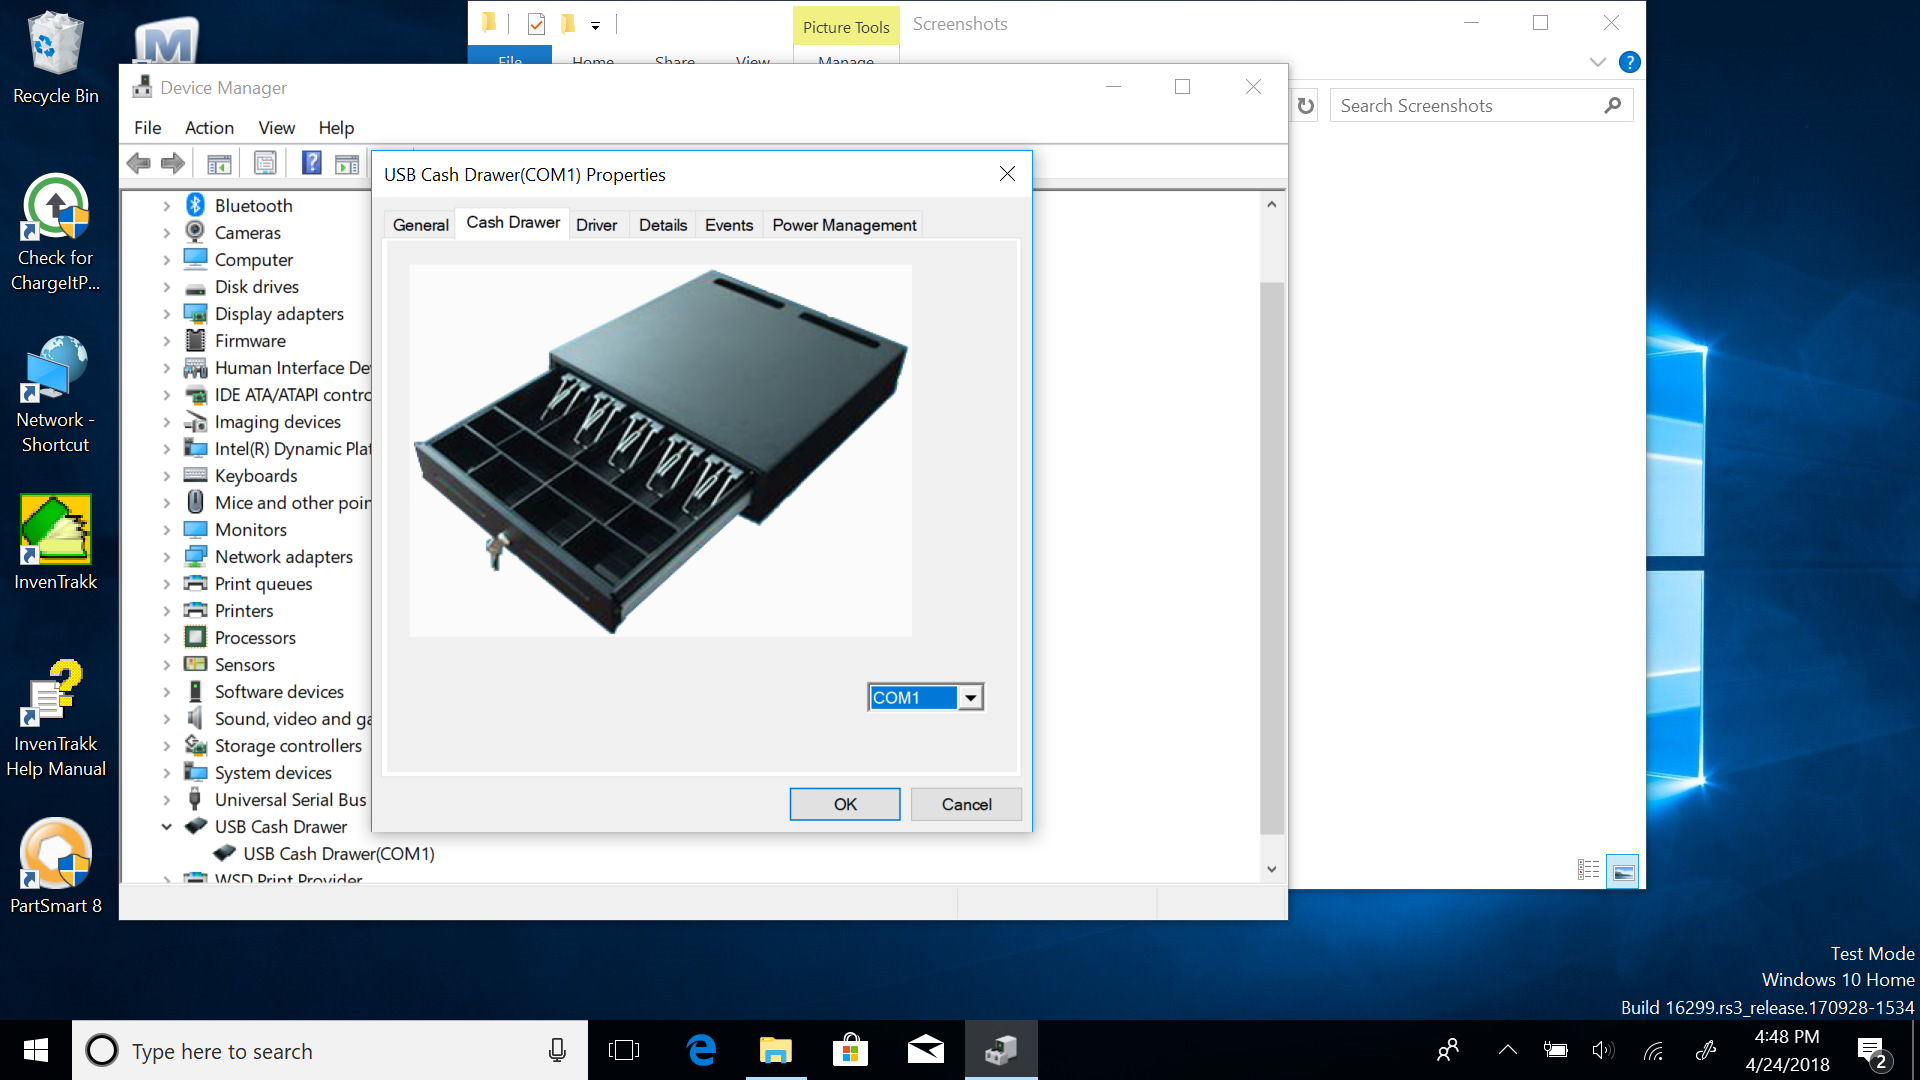
3) Double click on USB Cash Drawer at bottom of USB device line item. Then click the tab for Cash Drawer and make sure it is set to COM1. If it
is necessary to run on a different port then you will need to change that here and will also need to edit the open.bat file to change the port
to match. By Default, we run on COM1.

4) Click the OK button and close the device manager screens that you’ve opened.
5) When using the networked version of the Cash Drawer, it will be necessary to create a new file in the directory where the application was installed. By default, this would be Desktop\Lizzy. To create the file simply open the file explorer and navigate to the Desktop/Lizzy folder. Right-click inside the folder and select “New” -> “Text Document” and enter the name “ip”. Do not add the txt because Windows will create a file named ip.txt.txt if you do. Once the file is created, double-click on it to open it. You will be adding the following content but you will change the IP address portion on the left before the colon to whatever IP address represents your local network. We program these drawers so they end in 33 but the first 3 sets of numbers may need to change to your network address scheme.
192.168.1.33:30998
save and exit the file.
NOTE: PICKUP HERE FOR BOTH TYPES OF CASH DRAWERS
NOTE AGAIN: You may get Windows firewall or security notices when you run the application for the first time. Just click through to run them anyway as everything this program does is on your local network only.
6) Next we’re going to double click on the LizzyServices.exe file and run it. This will open a black box and present a few sentences explaining what it is. Do not close this window, just minimize it and leave it running.
Next Steps:
When you ran the program the first time, it created some encryption keys. Because these services only run on your local network and have zero access to the Lizzy system, we’re not really that concerned about the keys. We just need them in order for Lizzy to have access to the hardware.
The issue though is that the browsers don’t like these types of encryption keys. They prefer the ones you have to pay a couple of hundred dollars a year for and as a result are going to display a scary warning. Whether you’re using Chrome or Firefox, we’re going to skip past these errors and tell the browser we’re ok accessing the service anyway. So let’s see how we’re going to do that.
1) Go to Settings -> Invoicing -> Computer Names. We need to enter all of the computer names you’re using and we’re not really concerned if they are the real computer names or ones you want to call them. (Take a look at the video here to view the process.)
2) Once you have the computers set up with their names and have added access to each computer on your network, you should be able to start opening the cash drawer and printing barcode labels from systems without having to install JAVA or without having to install older versions of Firefox or Chrome.